Follow these step-by-step instructions to navigate the new Texas A&M Career Center HireAggies site.
It may be helpful to open a separate tab as you begin the registration process so you may refer back to these instructions as you navigate the site.
Account Registration for Current Students
Step 1: To begin registration, go to Texas A&M Career Center | Current Students. Once the page opens, select Launch HireAggies.

Step 2: Select Student in the box below.

Step 3: The Sign In page will open. Select Current Students: Single Sign-On.

Account Registration for Former Students
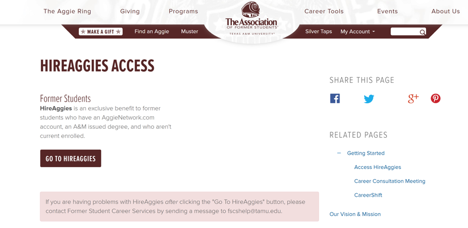
Step 1: To begin registration, go to The Association of Former Students | Career Tools | Access HireAggies.
Once the page opens, select the Login to AggieNetwork.com First button.

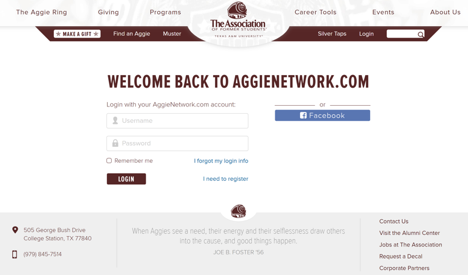
Step 2: Log in to AggieNetwork.com.
Step 3: Select the Go To HireAggies button.
Profile Setup
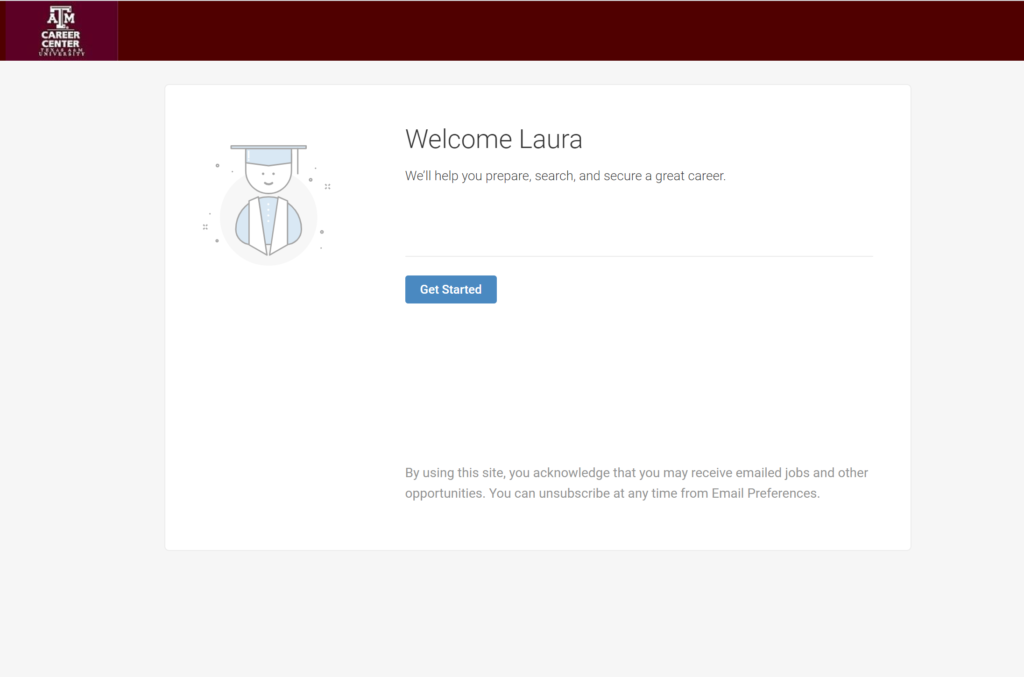
Step 4: Once you’ve logged in, select Get Started to update your profile. This is your general profile that will be used for all events attended through HireAggies.
Step 5: Update your profile.
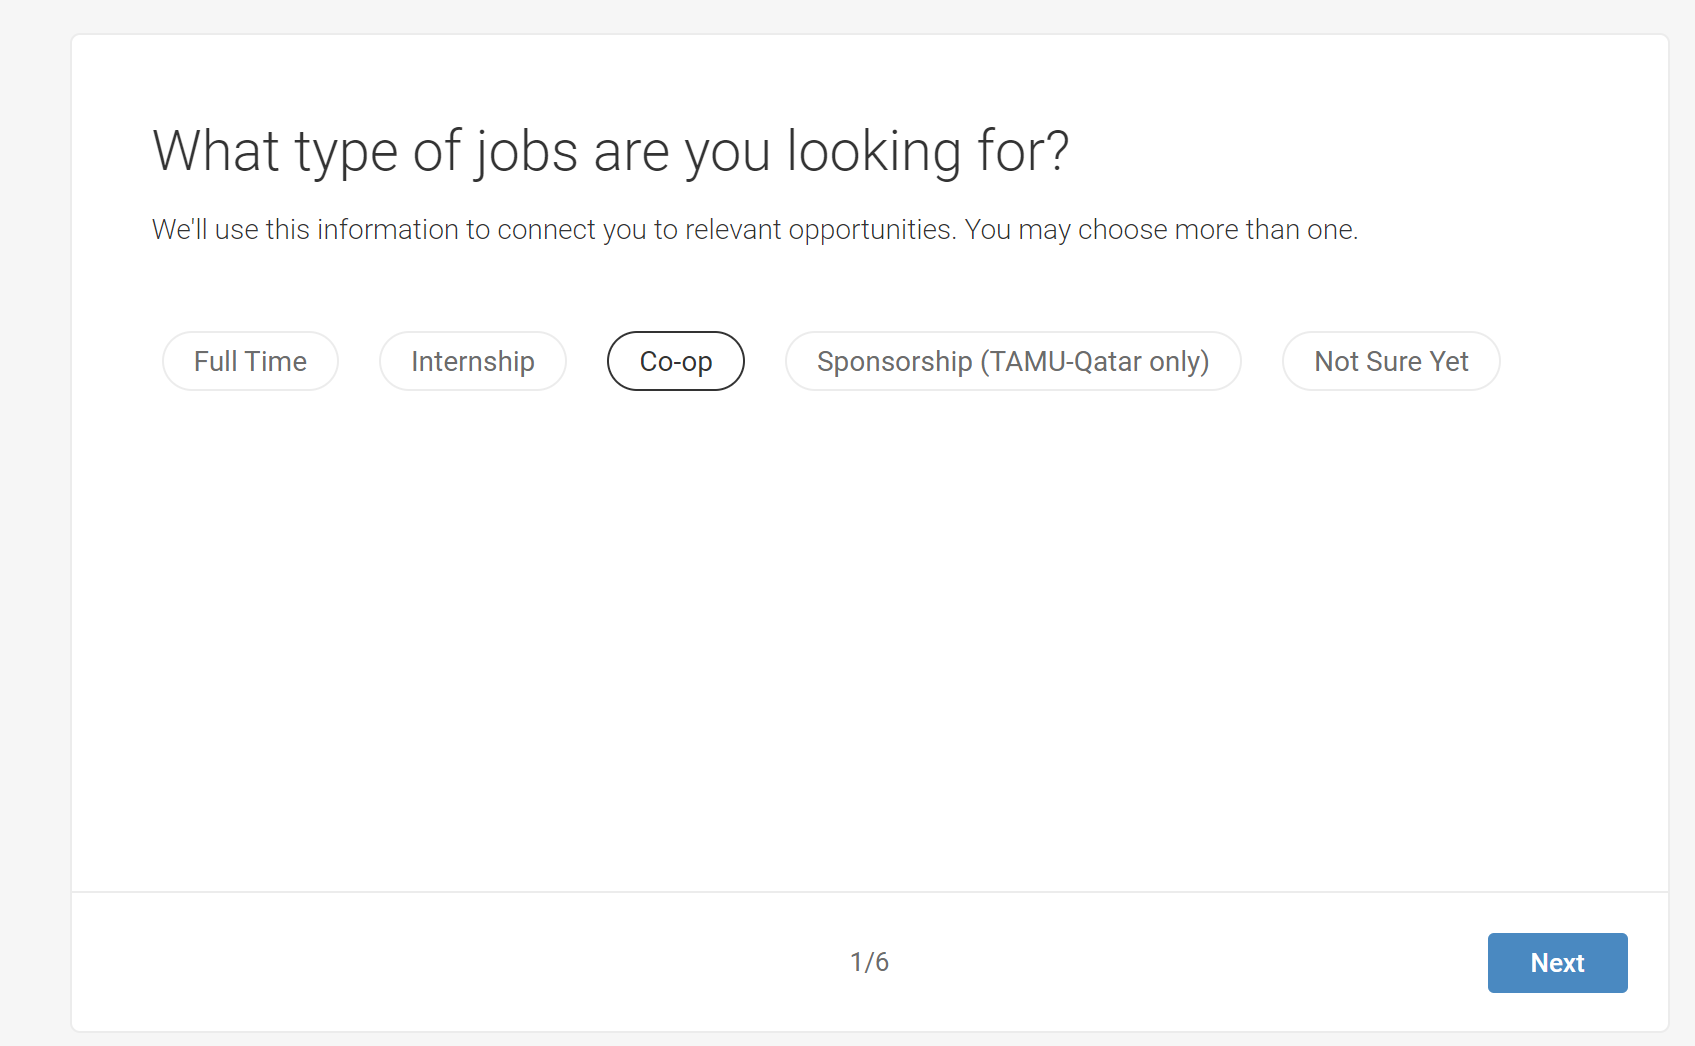
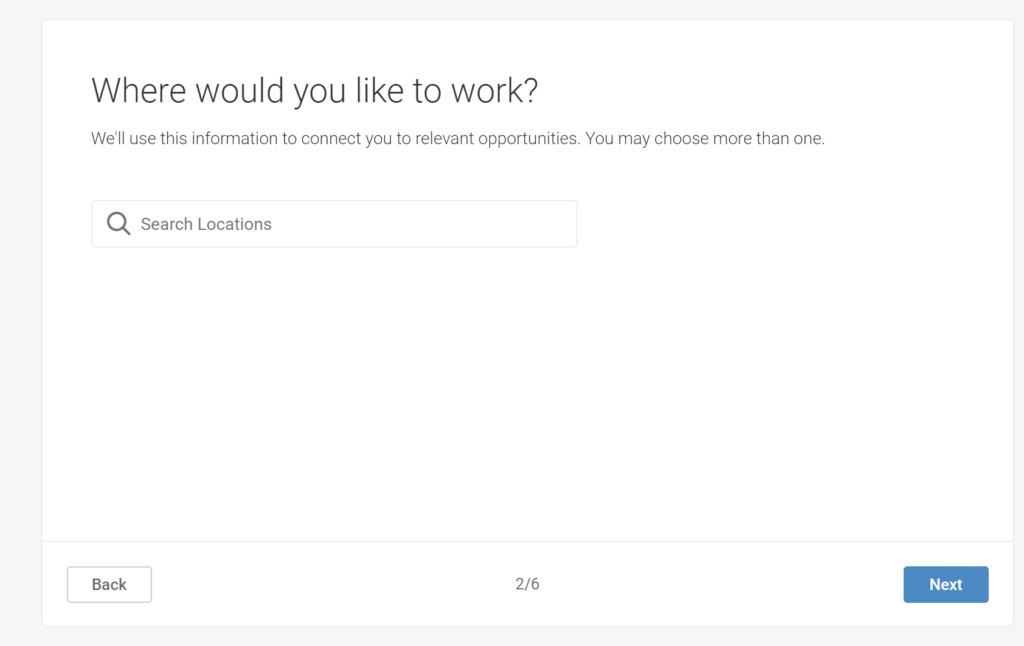
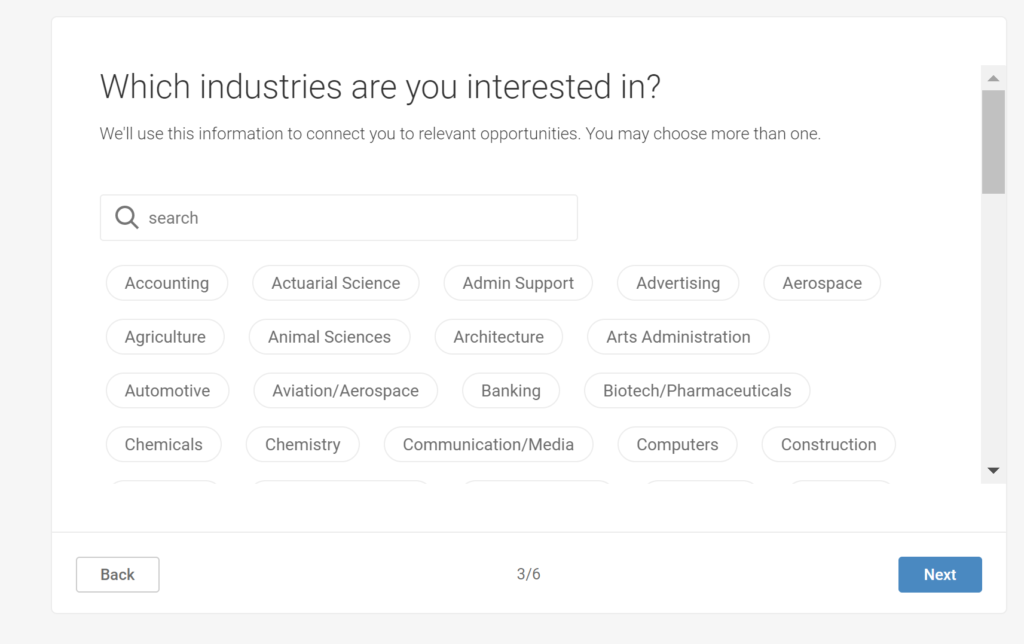
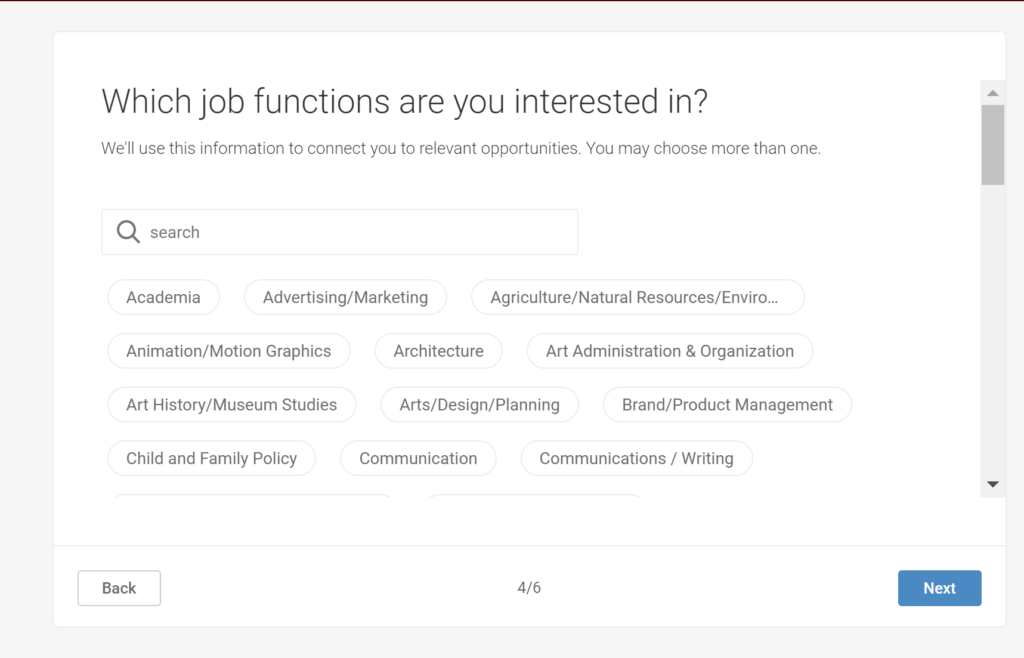
Be sure to add any job functions in your areas of interest:
- Veterinary Equine Exclusive
- Veterinary Emergency/Critical Care
- Veterinary Exotics
- Veterinary Externship
- Veterinary Large Animal Exclusive
- Veterinary Mixed Animal – 50/50
- Veterinary Mixed Animal – large animal predominant
- Veterinary Mixed Animal – small animal predominant
- Veterinary Palliative and Hospice Care
- Veterinary Physical Rehabilitation Care
- Veterinary Relief Work
- Veterinary Shelter Medicine
- Veterinary Small Animal Exclusive
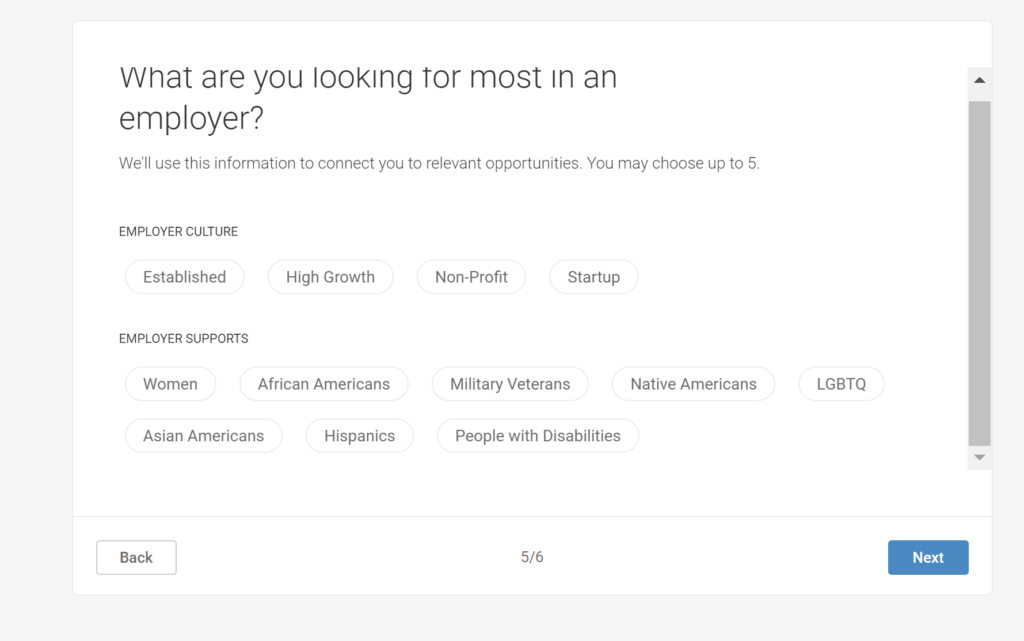
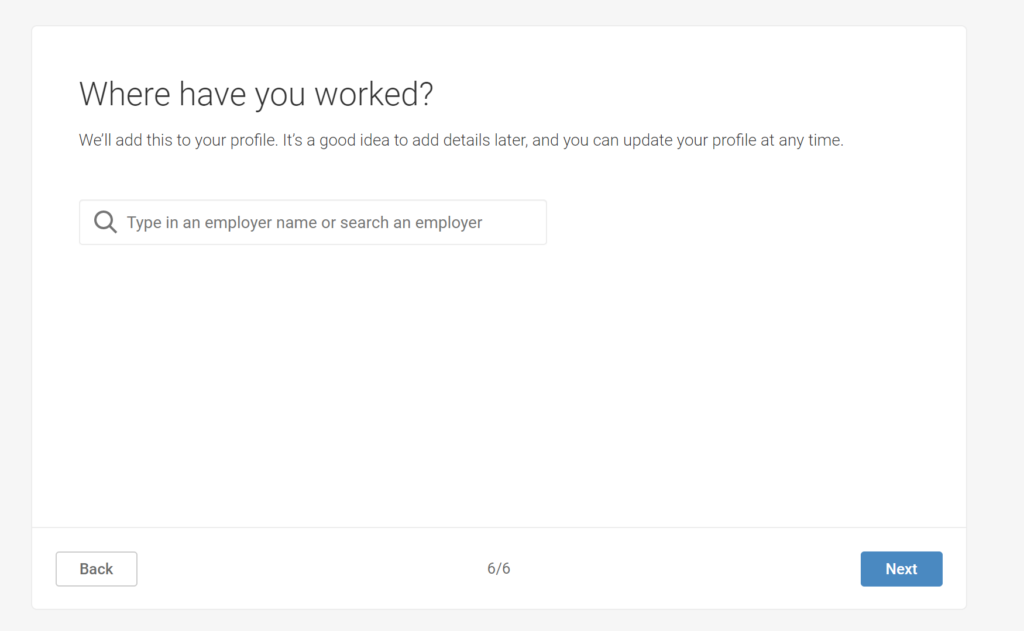
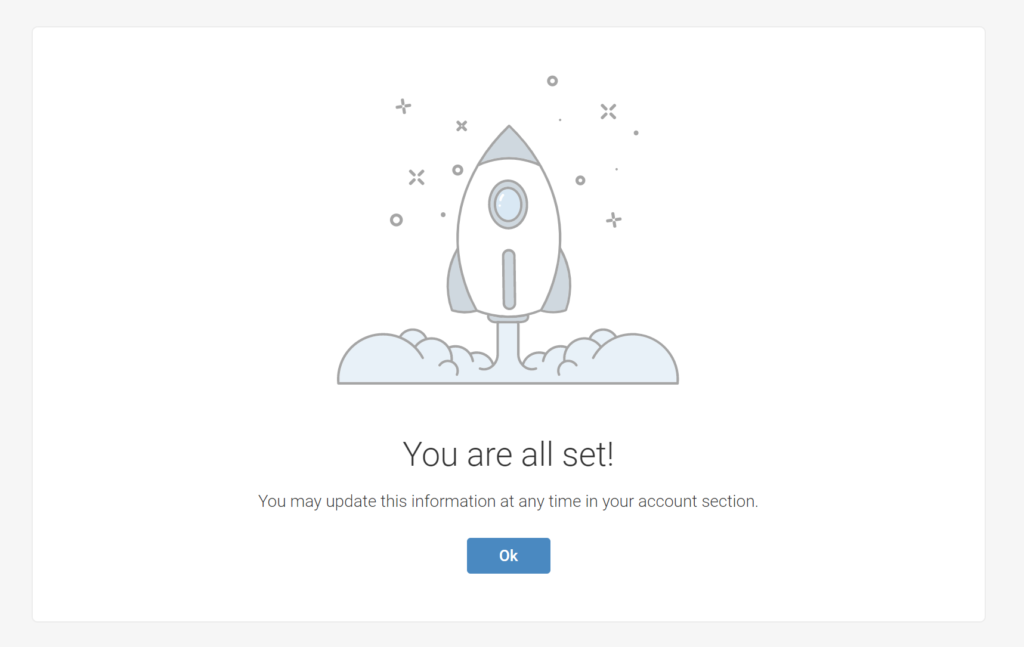
Step 6: After you have completed your profile update you will see the below screen. Click OK.
Step 7: You will be taken to the Home page. Here you can view important Announcements, Upcoming Events available for registration, and other shortcuts.
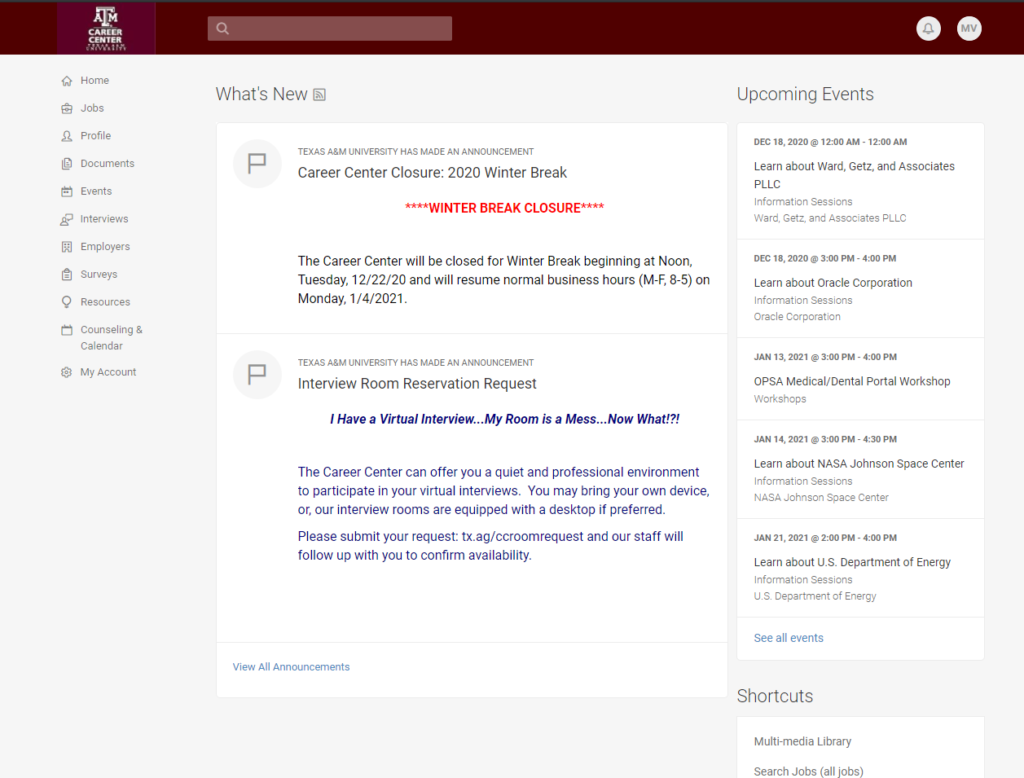
Step 8: Before proceeding to the Job Search tab and many others, you must complete your Account’s Personal and Privacy details. Most of the tabs in the left-hand sidebar will not grant you access before you have a complete account profile. All areas marked with a red * must be completed.
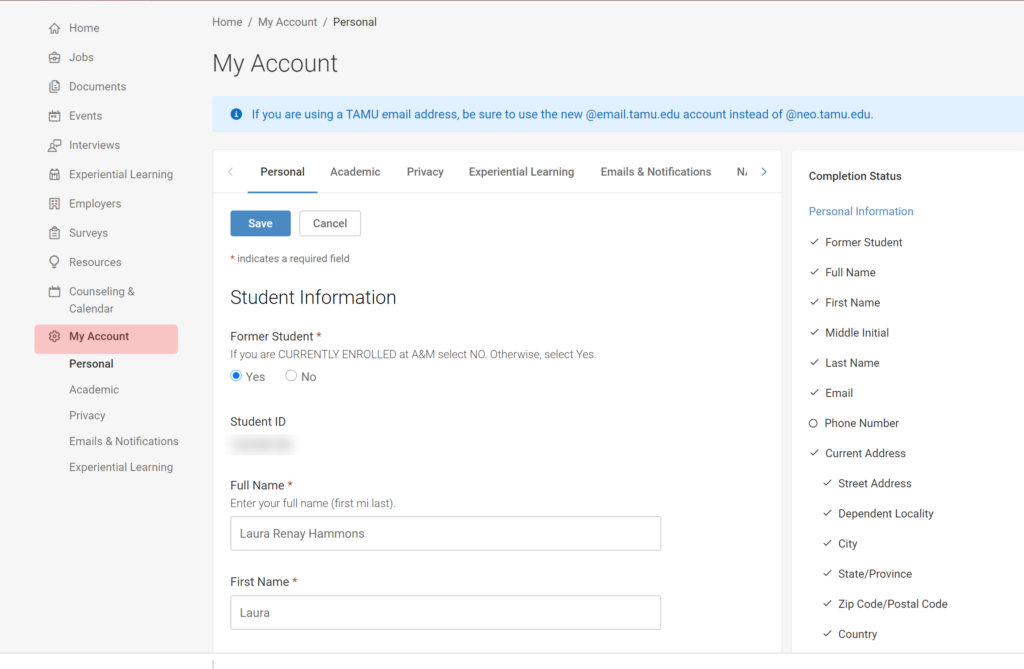
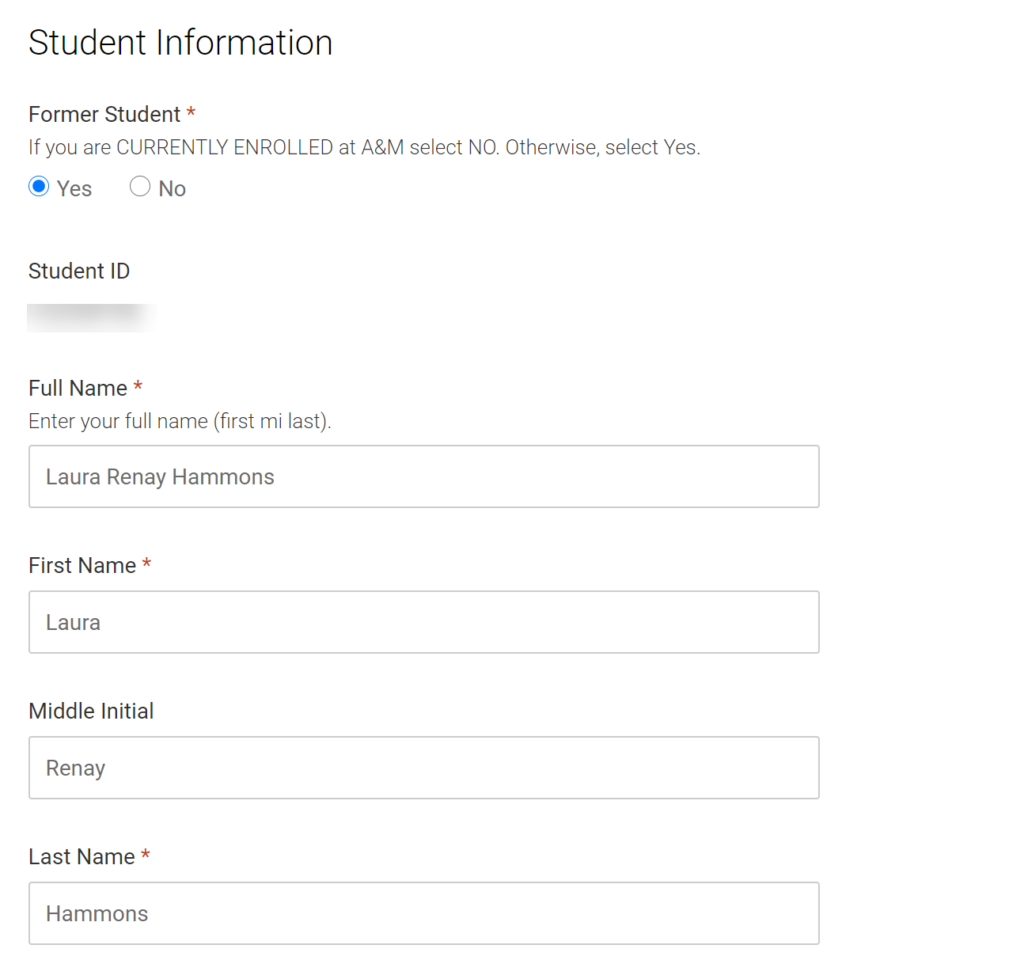

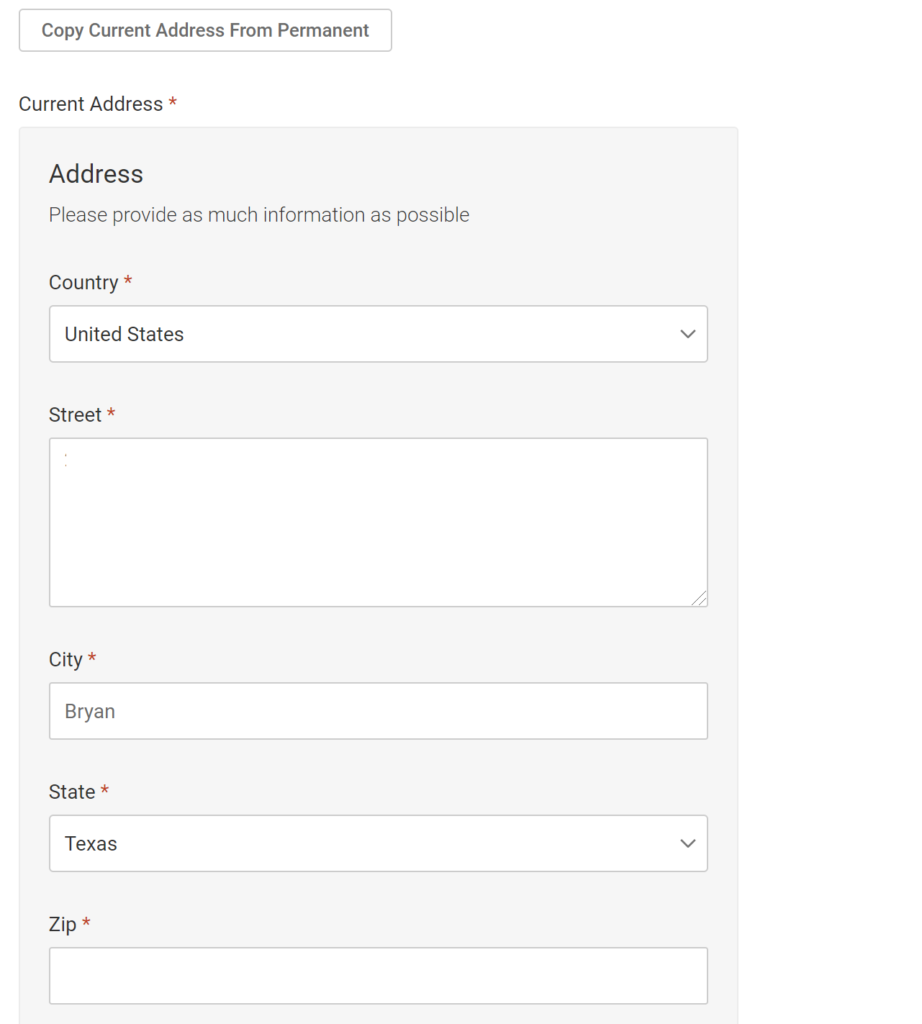
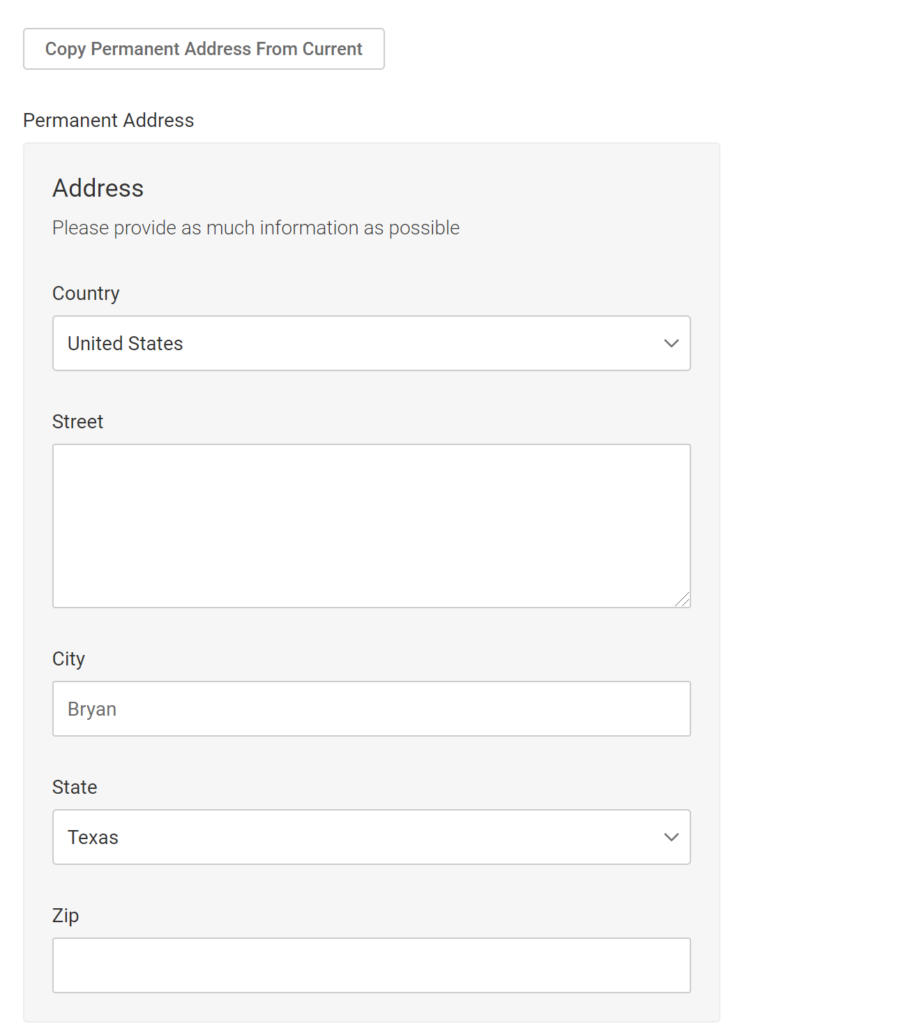
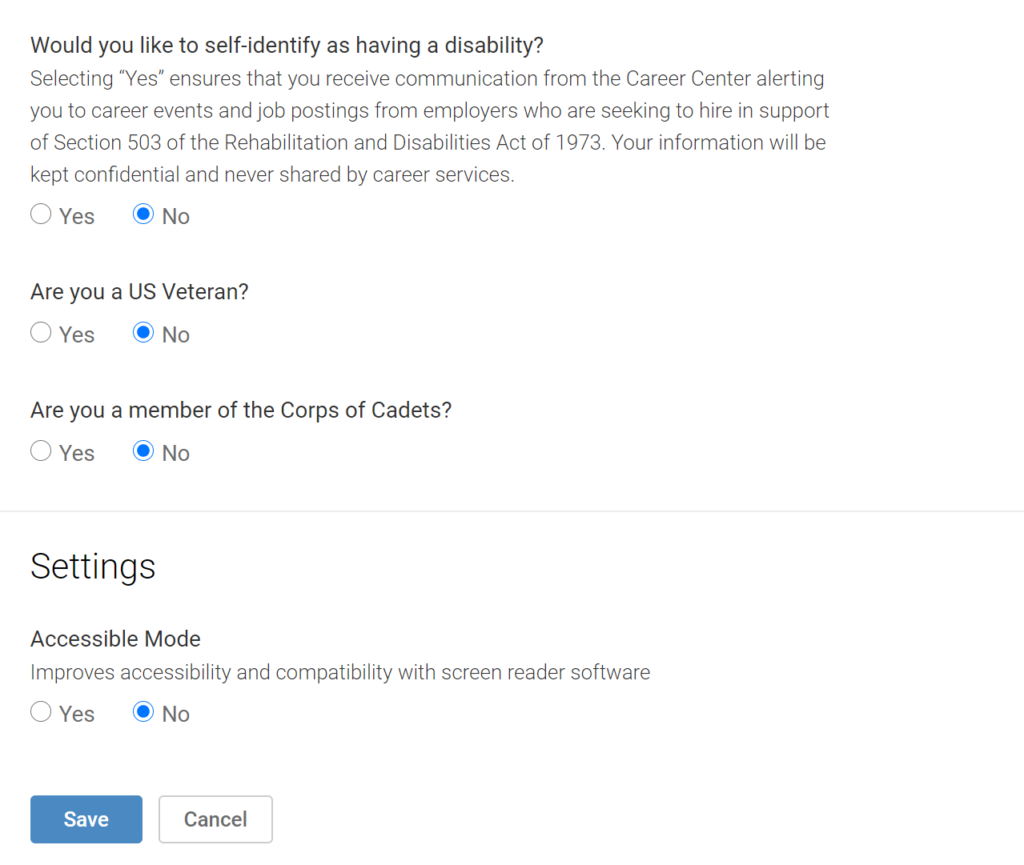
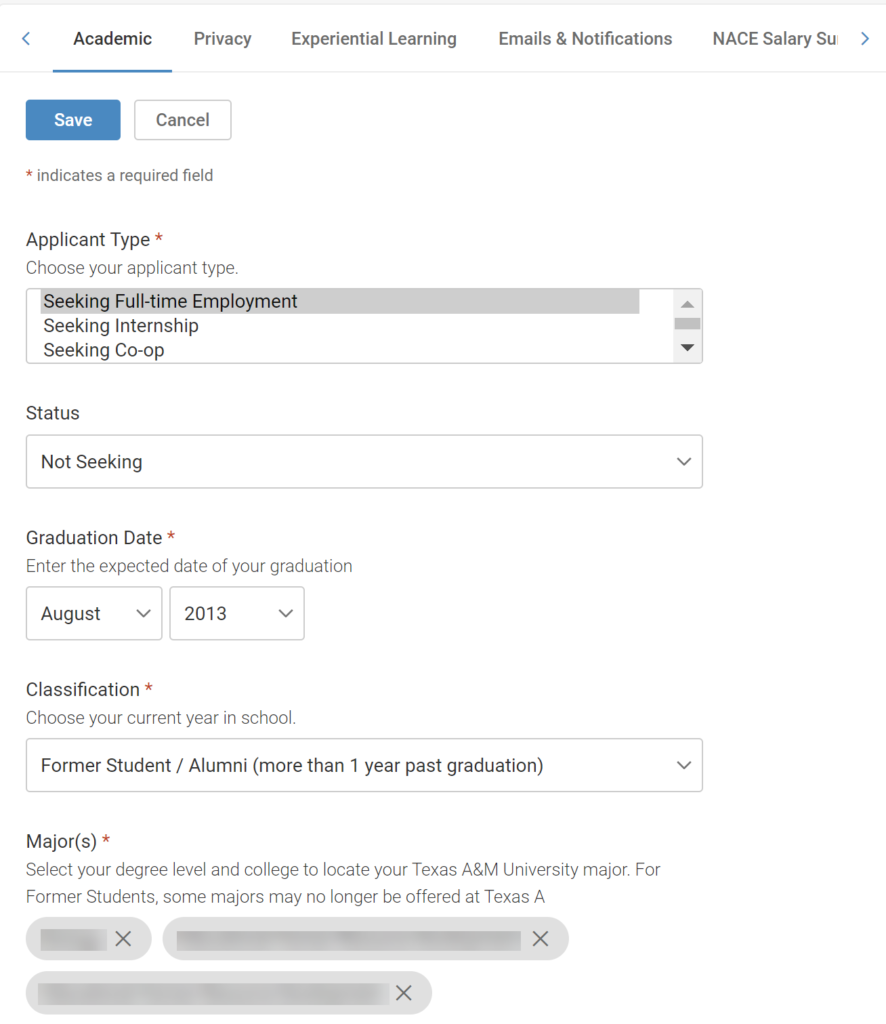
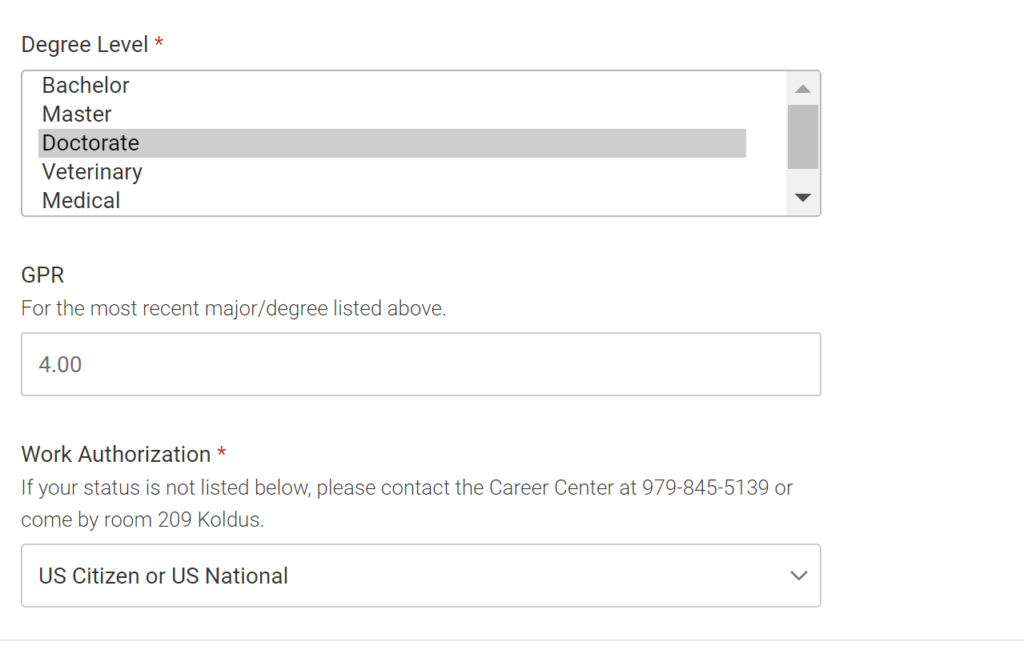
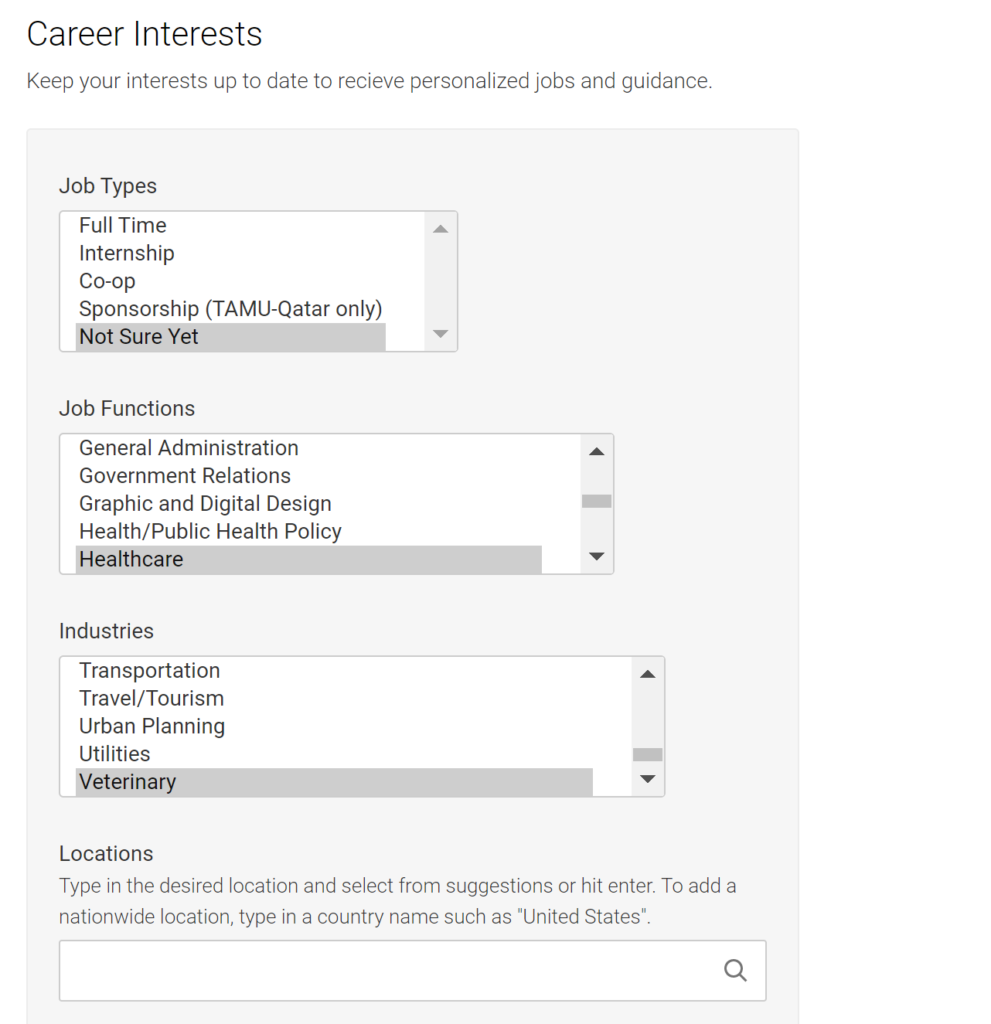
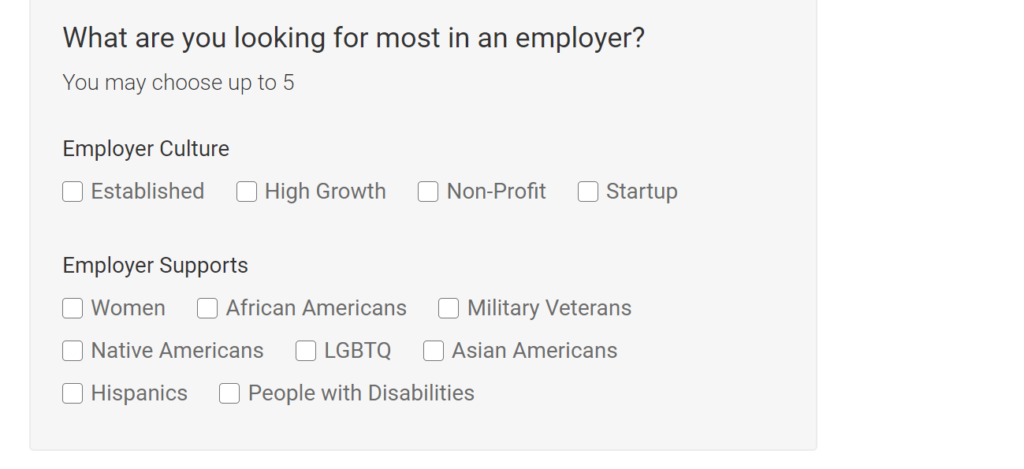
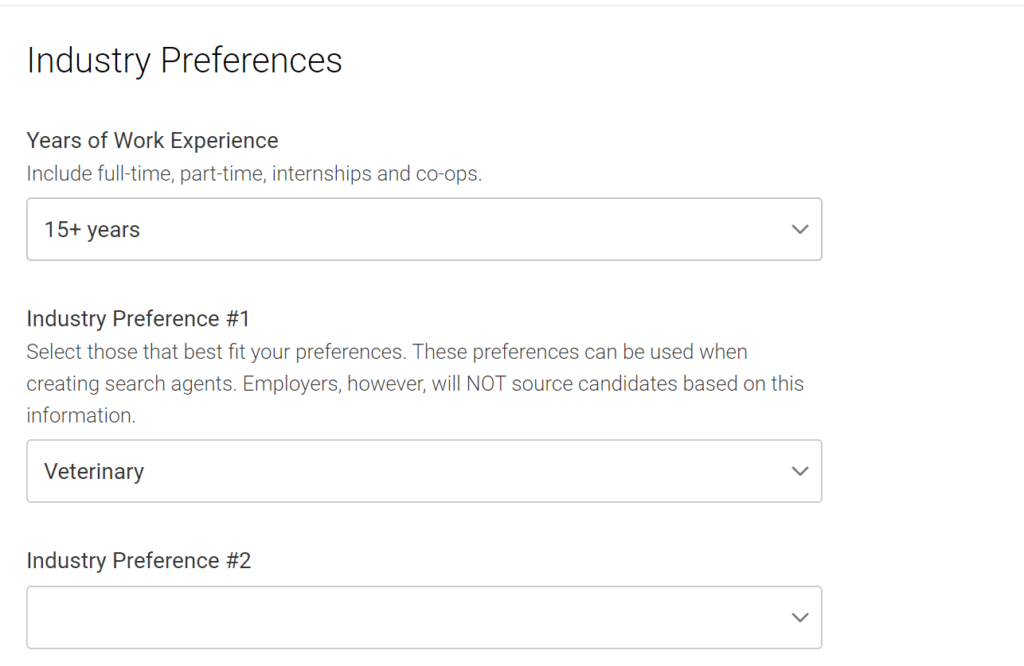
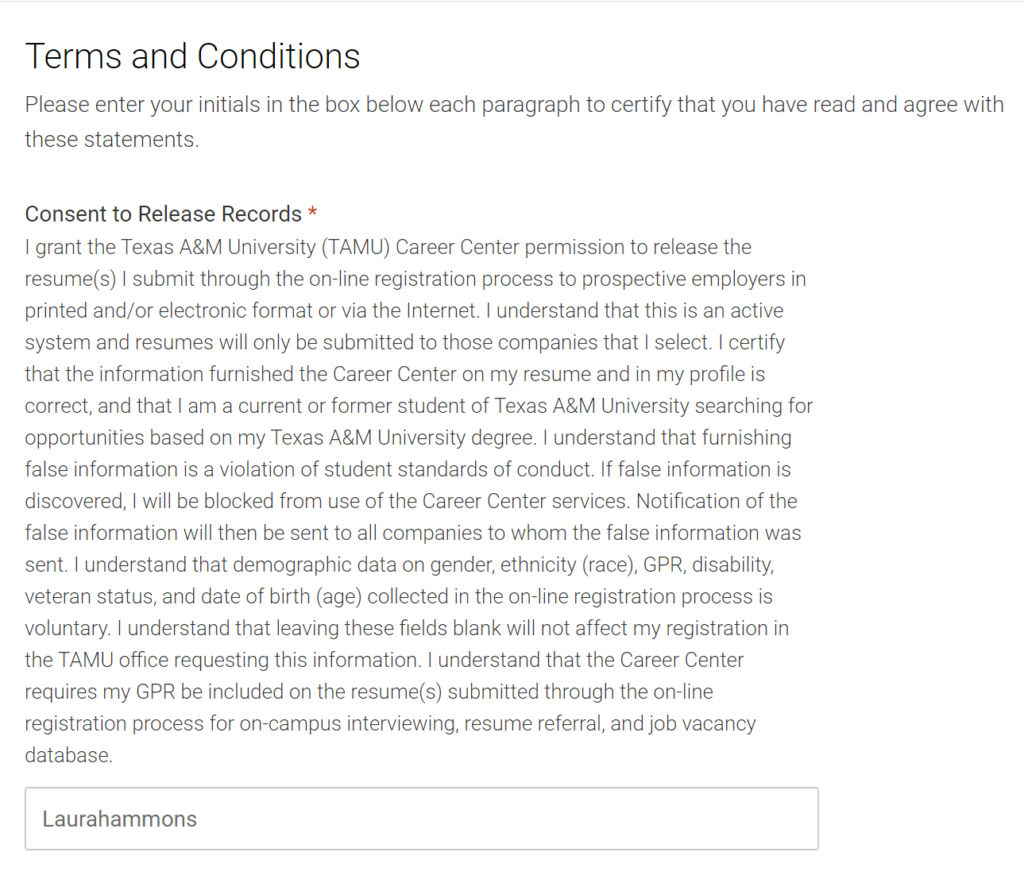
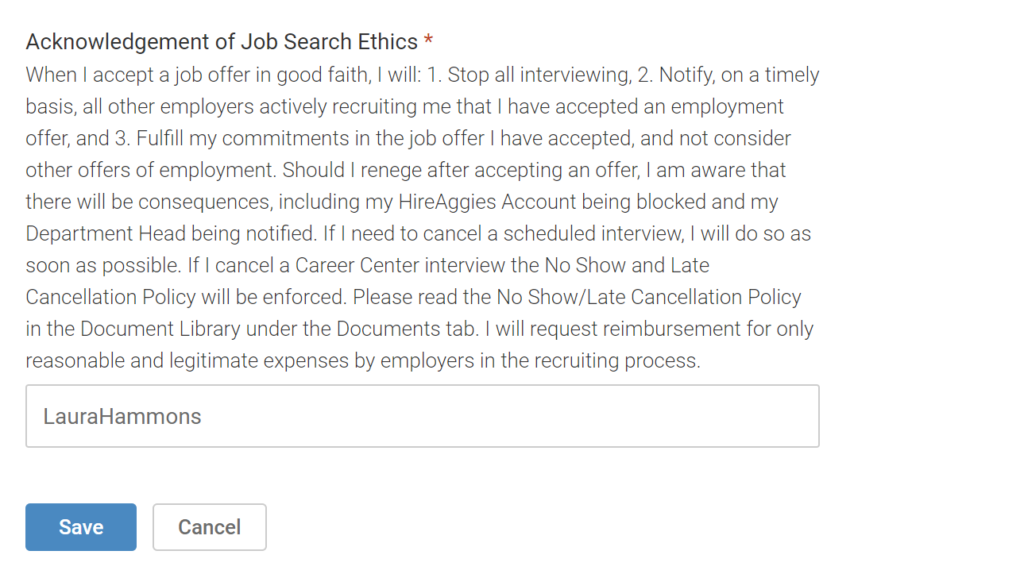
Step 9: Your Personal profile update will be complete once you initial the Terms and Conditions below and click Save.
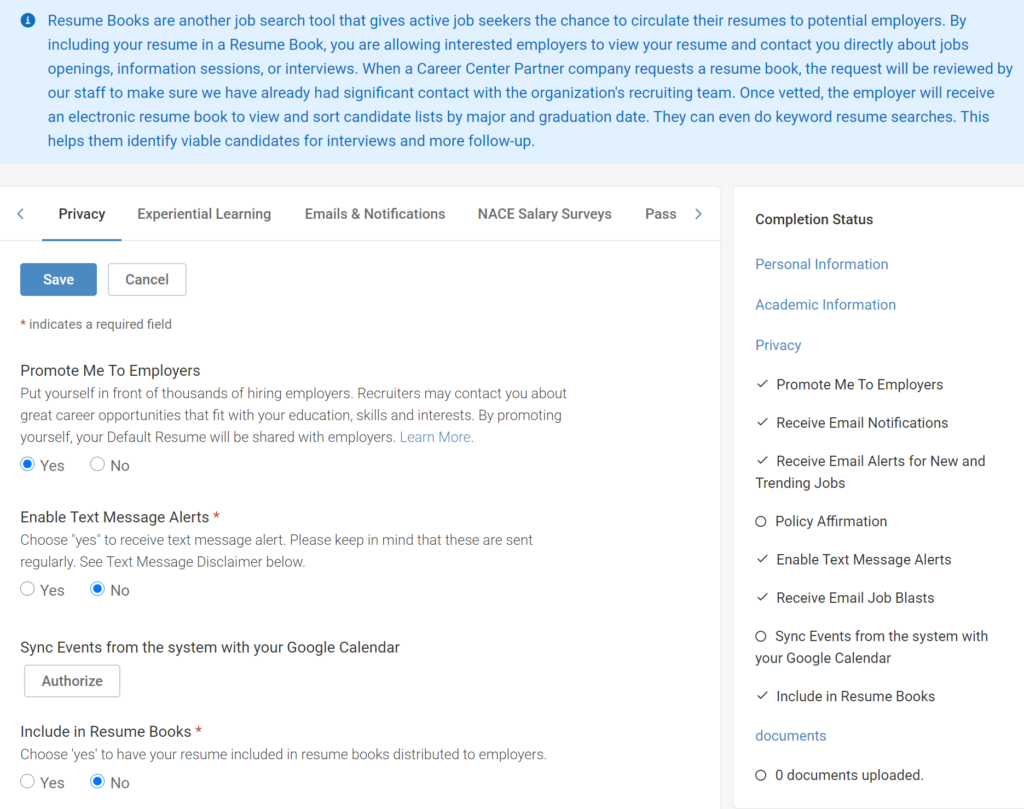
Step 10: Update your information in My Account under Privacy. All areas marked with a red * must be completed.
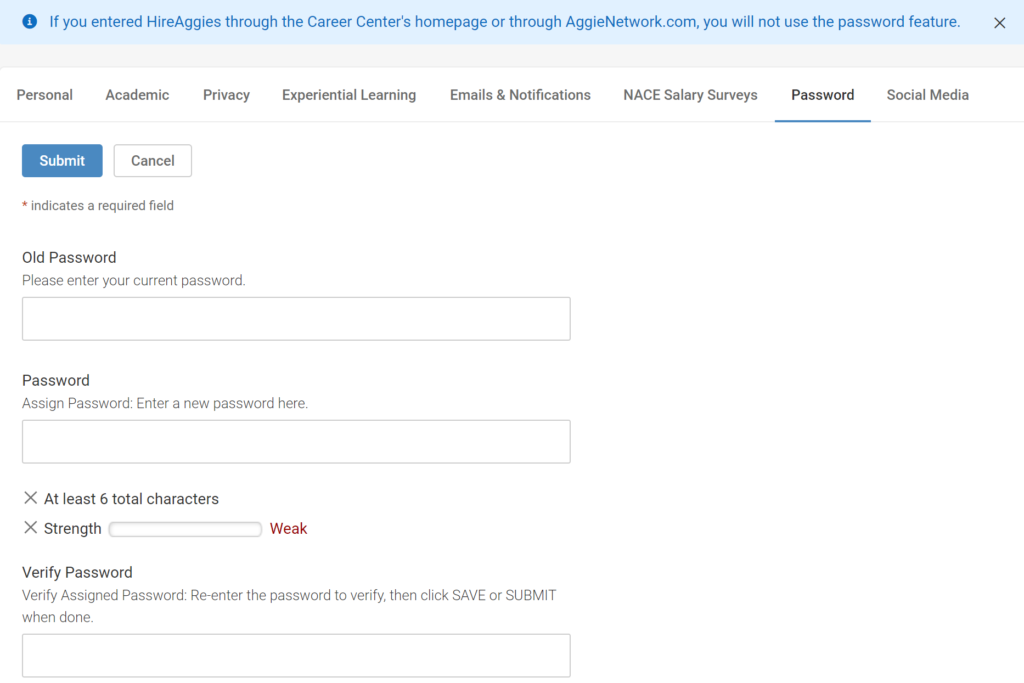
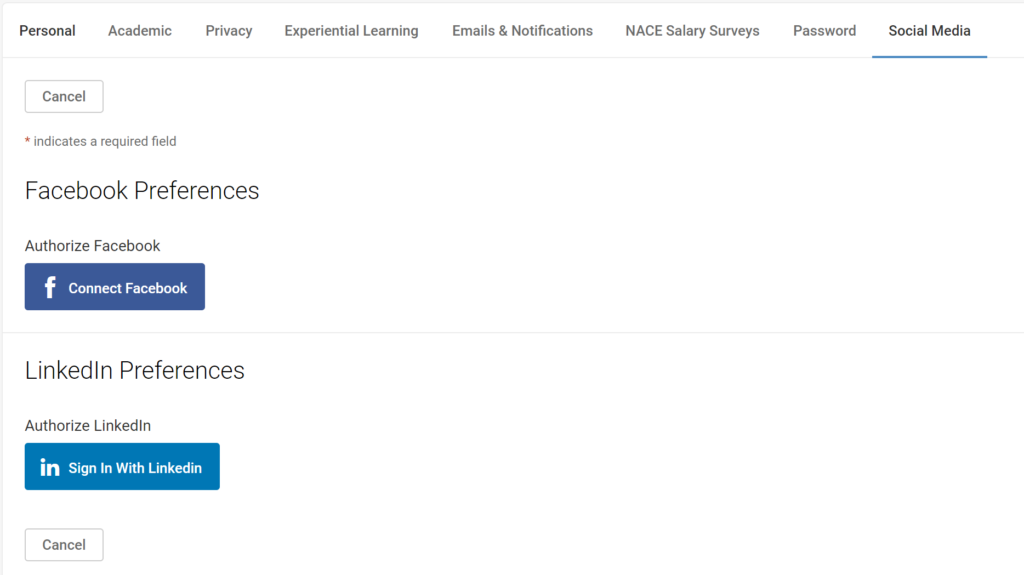
Step 11: After you have completed your account updates, go to your Profile. This is what employers will see when looking for more information about you. If you would like to change the content in a specific section that you see, you can make adjustments directly from this screen. Note: No employer will be able to view your profile until you click the Publish switch to make it visible. You can switch it back to unpublish at any time.

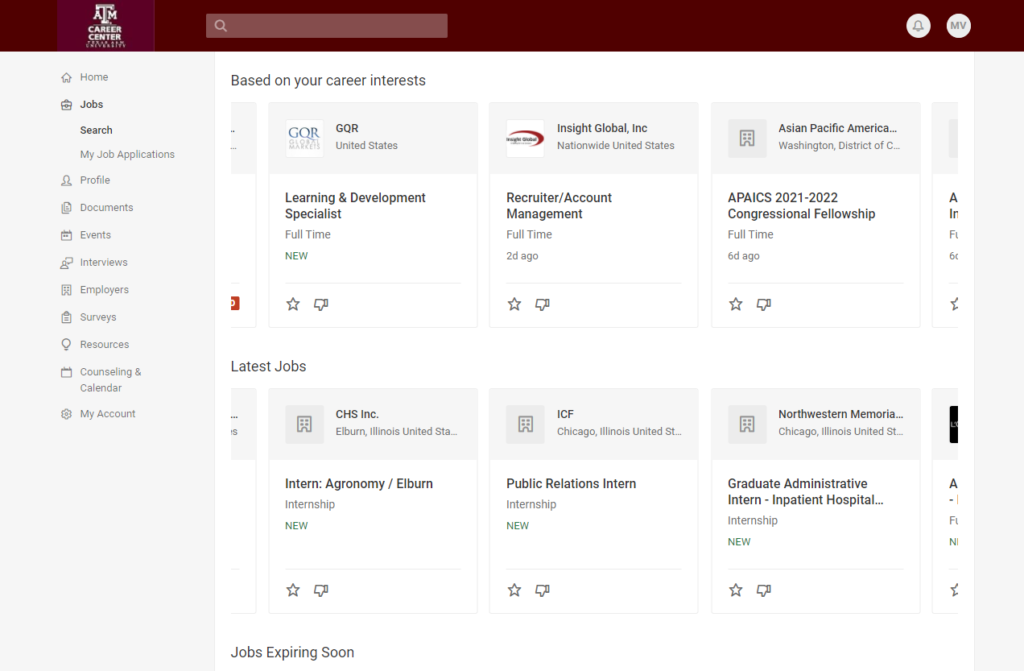
Step 12: In Jobs → Search you will see various positions best suited to you based off the interests selected in your account. They are organized by career interest, latest job postings, posts expiring soon, and trending jobs. Click the Star to favorite a posting and quickly view it later. You may adjust your selected career interests at any time by returning to your Account tab.
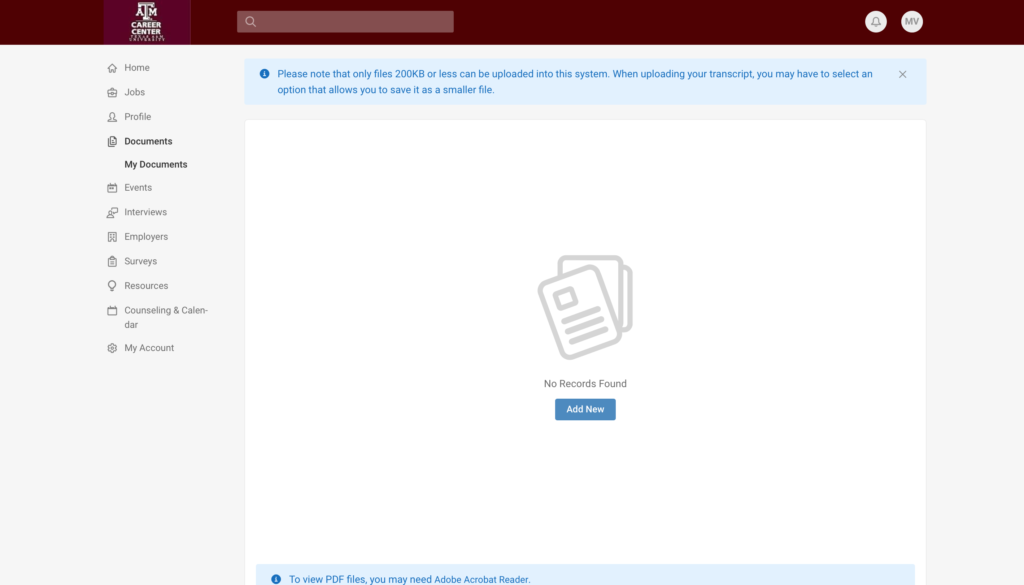
Step 13: My Documents is where you may upload your resume or transcript. If the file is larger than 200KB, it will need to be saved as a smaller version prior to upload.
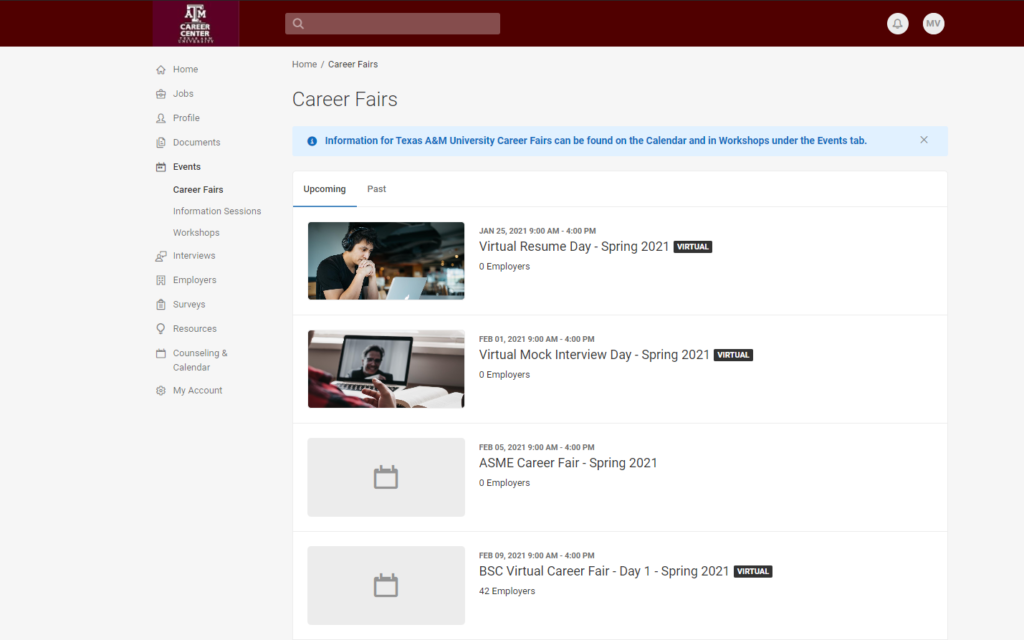
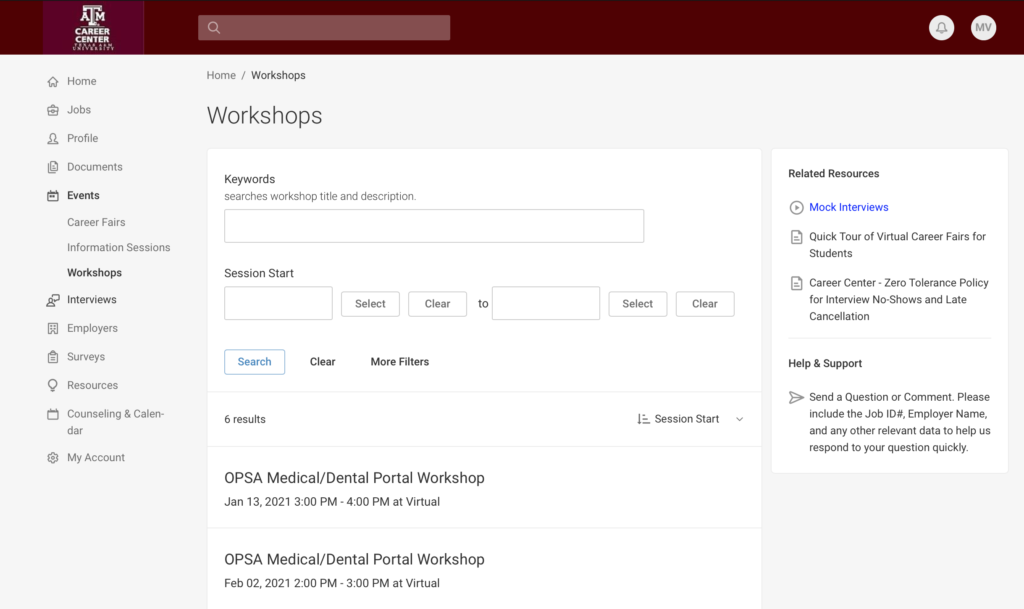
Step 14: In Events you will find Career Fairs, Information Sessions, and Workshops based off the interests selected in your Account.
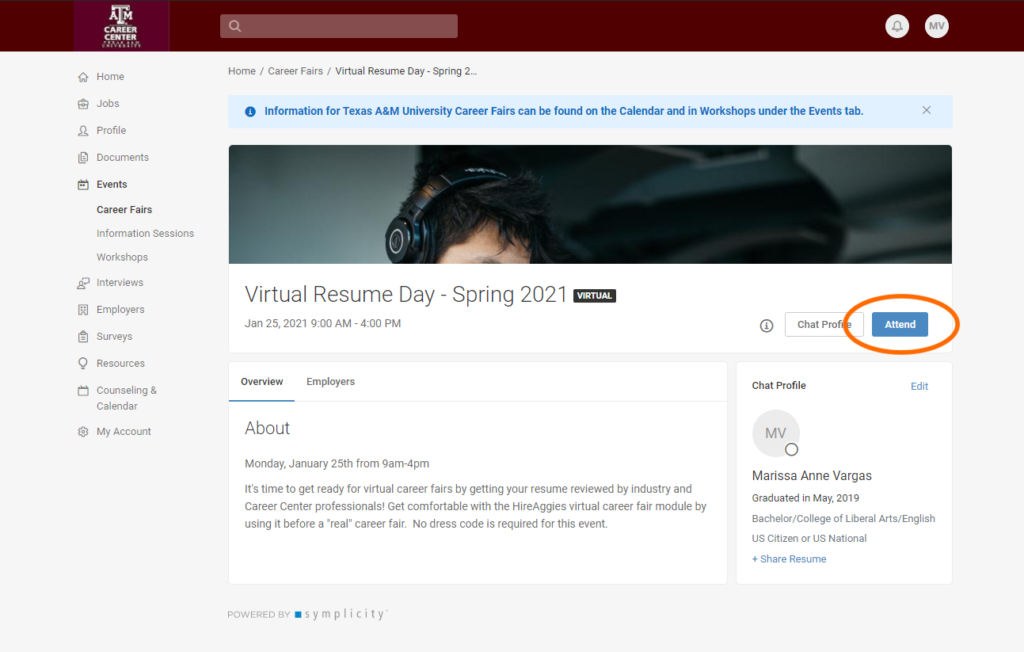
Select a career fair you are interested in by clicking in on it to view more details about the event. Click the attend button if you would like to participate in it.
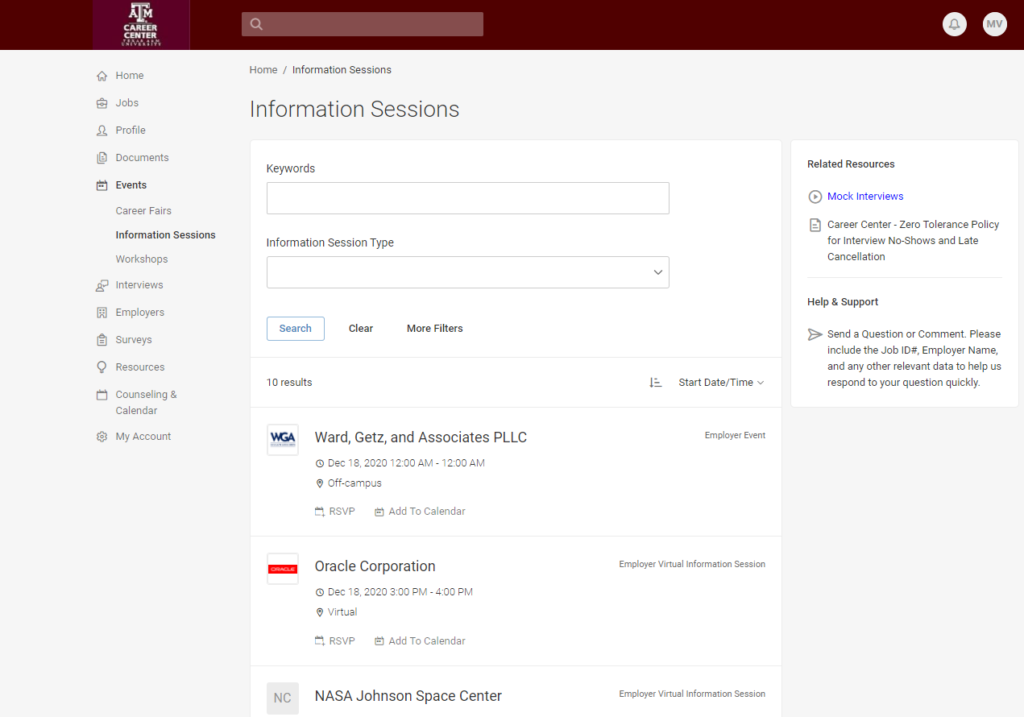
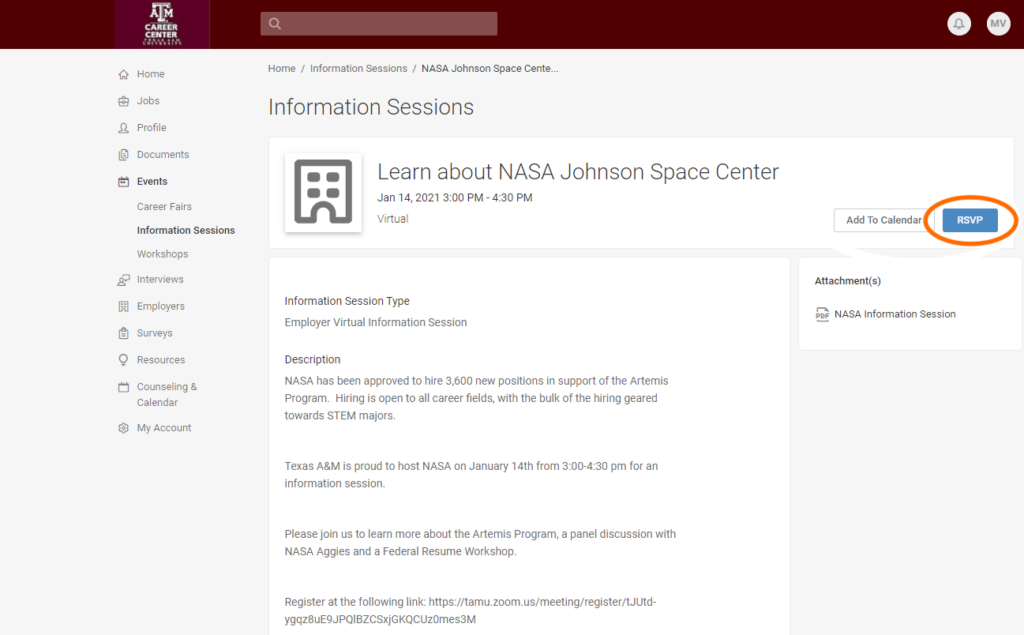
Information sessions and workshops are listed according to their start date and time. Type in keywords and select the session type or start/end date you are seeking to narrow down the results. Select one you are interested in by clicking on it to view more details about the session or workshop. If you would like to attend, click the RSVP or Add to Calendar button.

Step 15: See which employers would like to meet with you in Interviews. Here you will be able to manage requests for interviews from employers and view which ones you have scheduled.

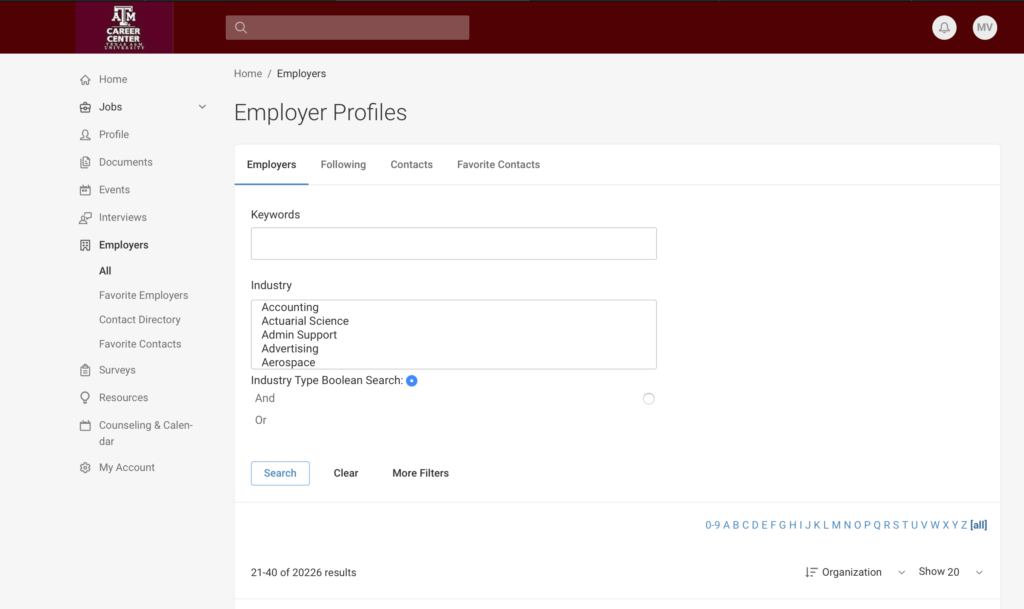
Step 16: Explore different companies with positions available in Employers. Search for them by industry, click on their name to learn more about the company, and click the star to favorite/follow them for easy reference and stay updated on their postings.
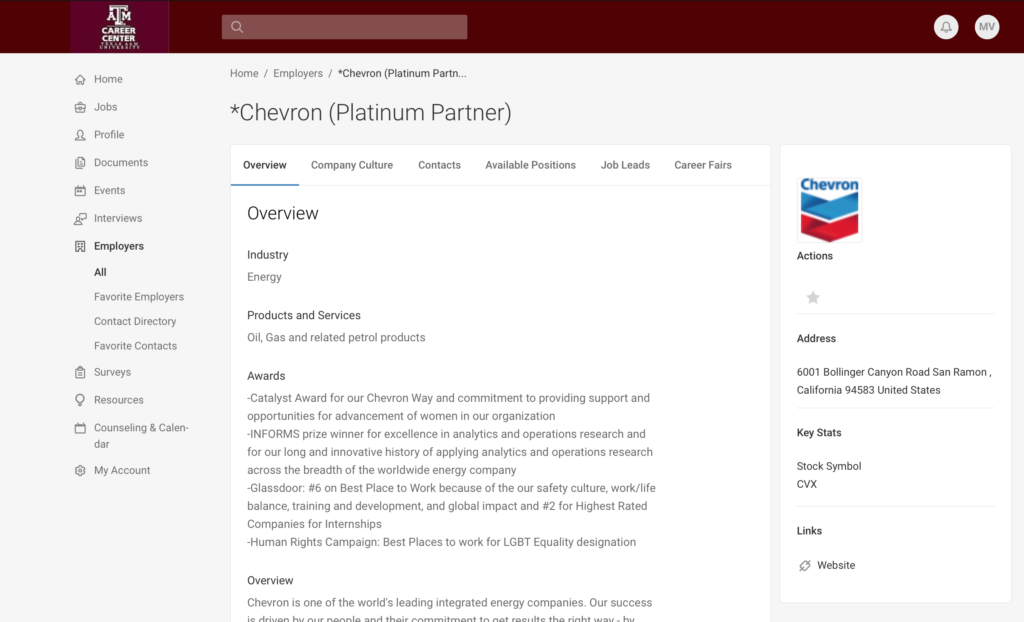
Their profile will list an overview with a brief description of the employer and their accolades, company culture, available positions, job leads, and contacts. If provided, you are able to favorite contacts they list or add their contact details into your own contact directory for quick access.
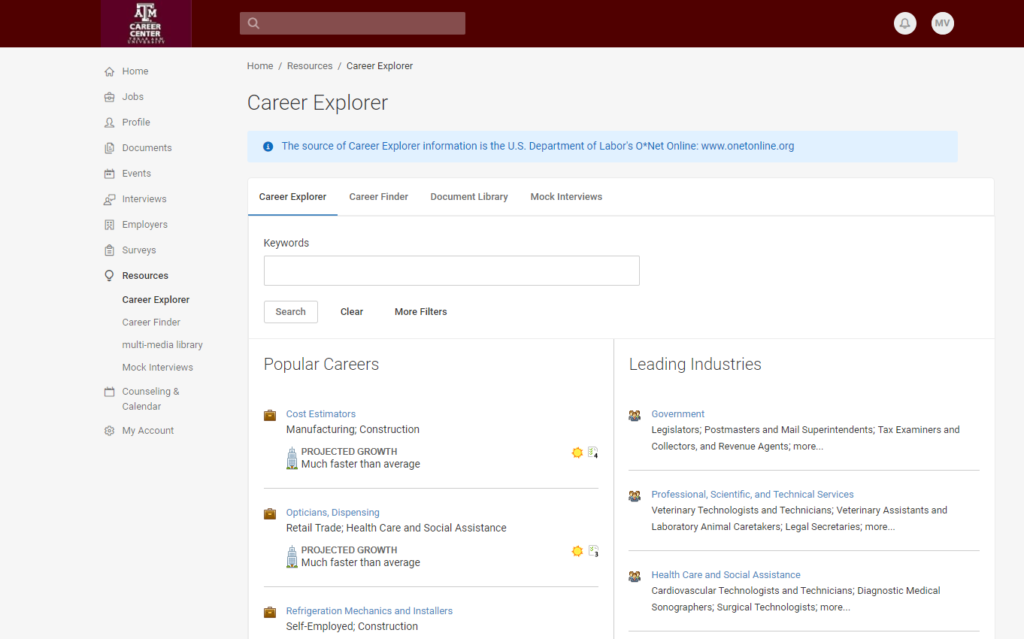
Step 17: For guidance on what career you are most interested in, mock interviews, and other tutorials, go to Resources.
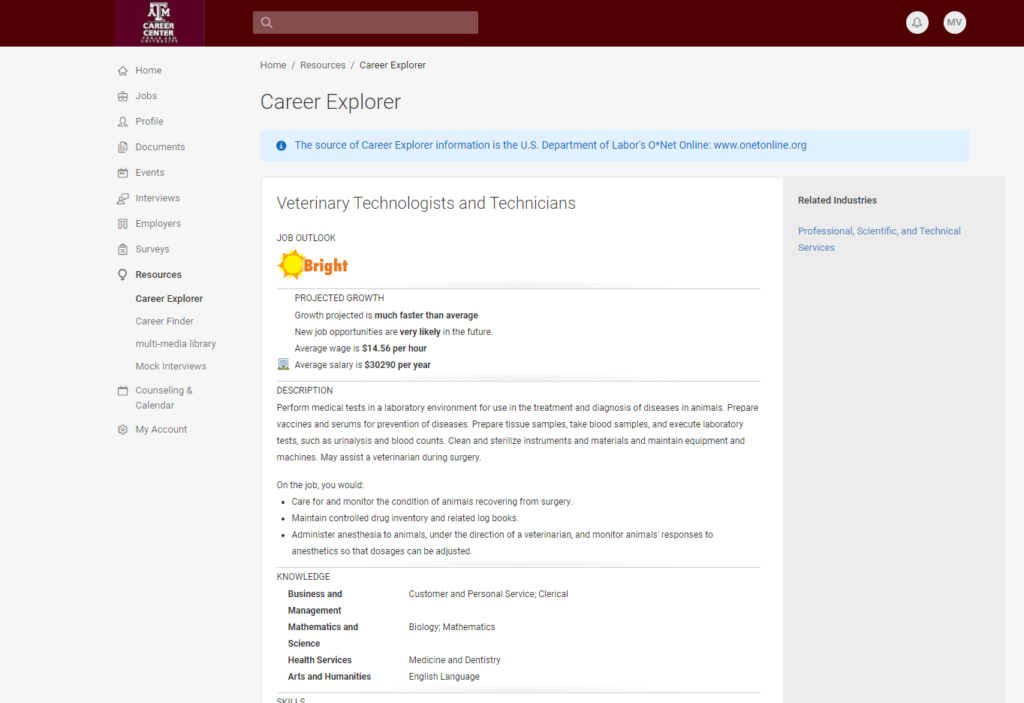
The Career Explorer lists various careers and details their related statistics such as projected growth, average salary, and other requirements.
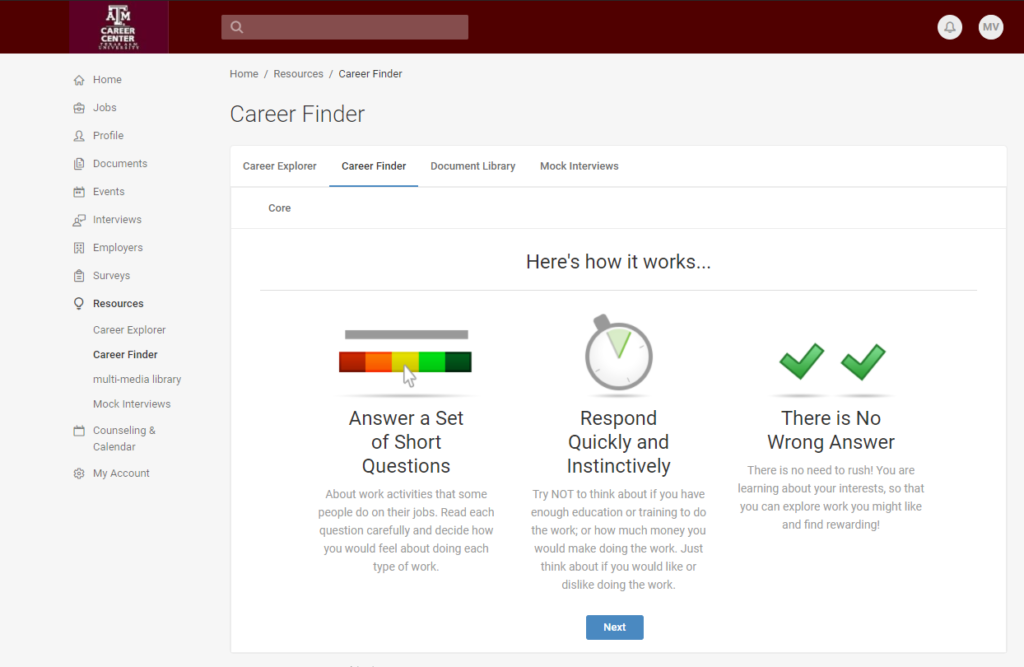
The Career Finder will guide you through a questionnaire designed to help you understand which career(s) best suit you for guidance through the job search.
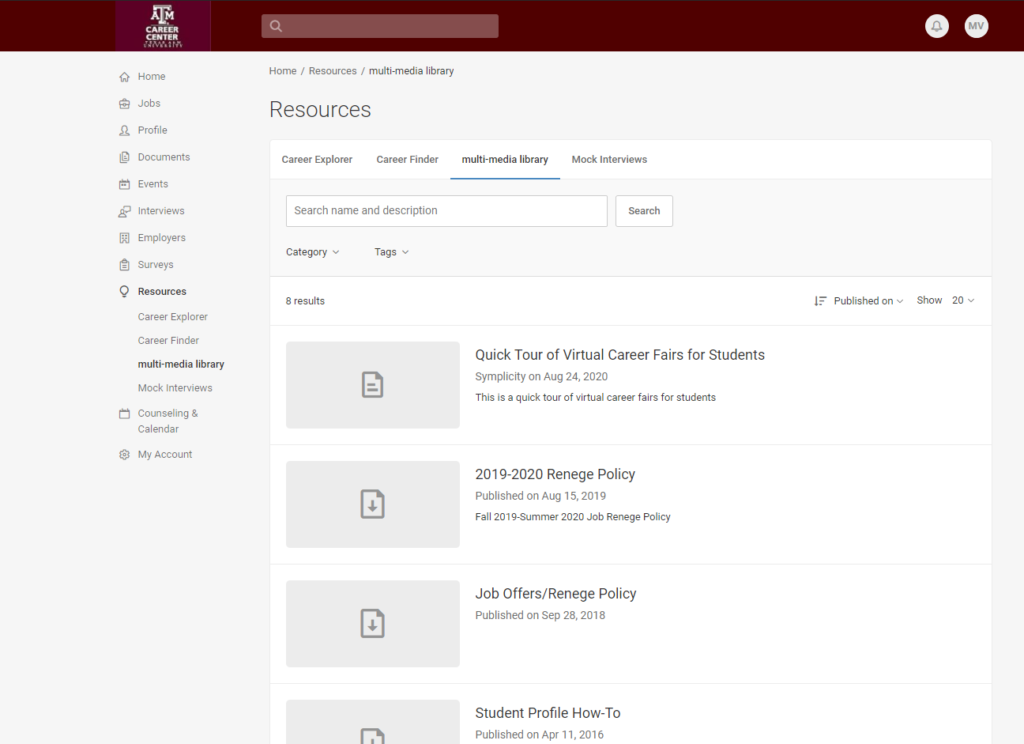
The Multimedia Library contains video tutorials to further enhance your profile and improve your skills during the job search.
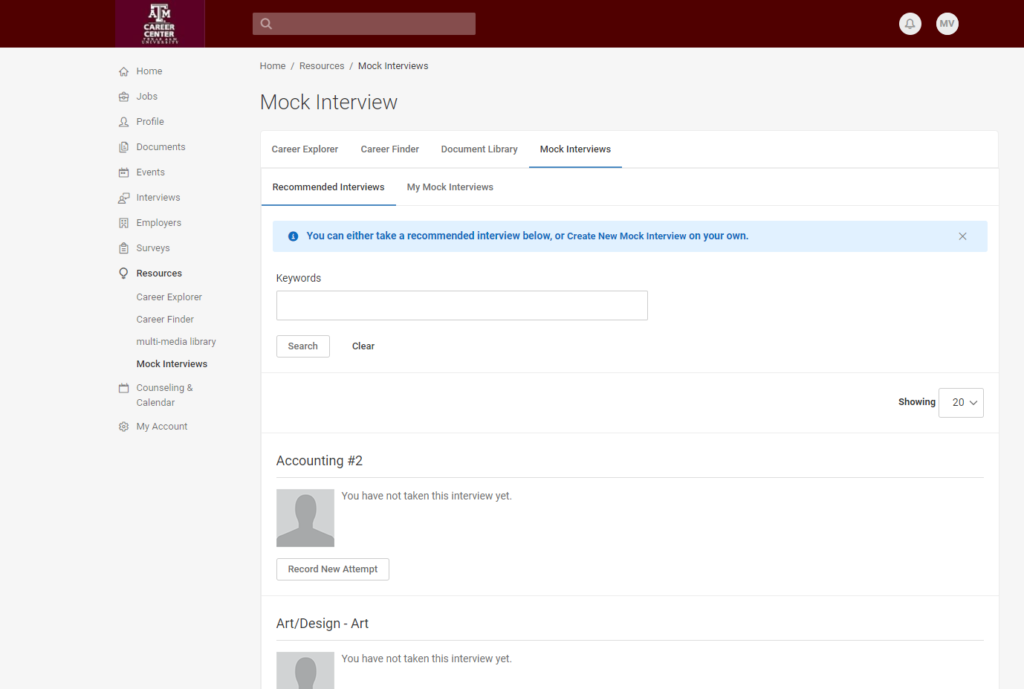
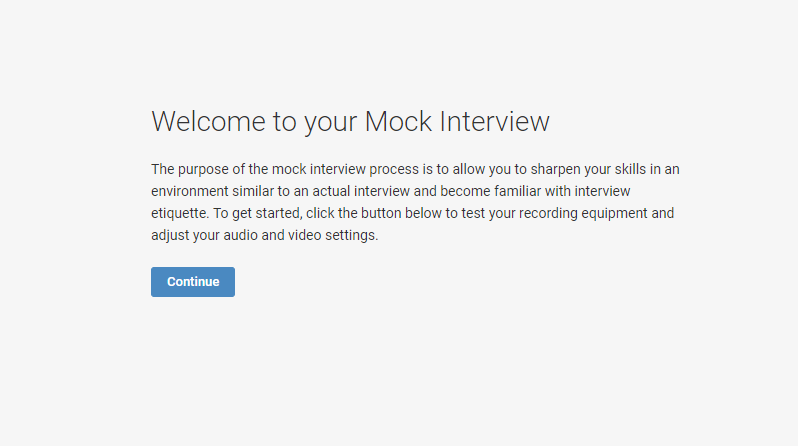
Mock Interviews are available to polish your skills by mimicking a job interview in your desired field under Recommended Interviews or you can create your own to use as practice.
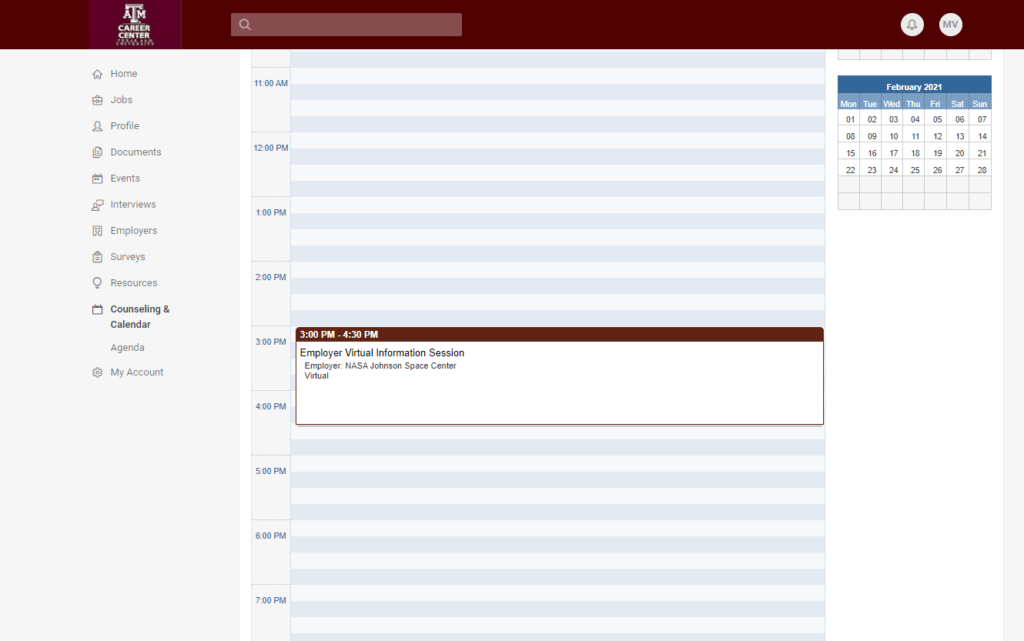
Step 18: Once you have RSVP’d for events and interviews, they will appear in your Counseling & Calendar → Agenda. You can adjust your calendar by narrowing the category of items shown and switching between the day, week, month, or year view.
